As the seasons change and the nights grow darker, it’s the perfect time to grab your camera and turn it towards the heavens for some starry night photography, and in this tutorial we’re going to give you some tips on how to take the best images possible.
Equipment for Night Photography
Starry night photography requires some more specific equipment than other photography styles you might be used to.
First of all, you need an SLR camera (Digital or analog) with a lens with large aperture (at least f/3.5 but ideally f/2.8) and some good performance of ISO. It might be possible to photograph this on a compact camera too as some have f/2.8 aperture but the ISO performance is a bit less than the DSLR sensors.
Make sure to either use a remote or shutter release cable, or use your camera’s timer, because you don’t want to introduce any shake into the image.
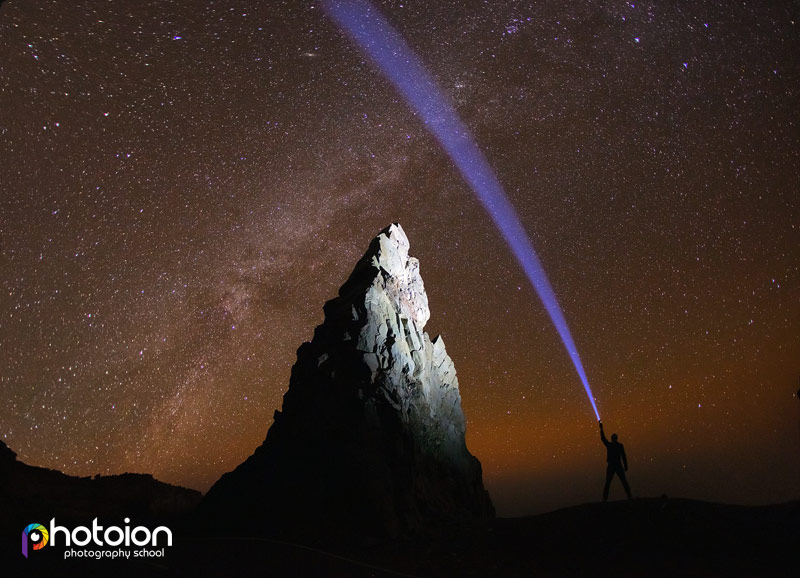
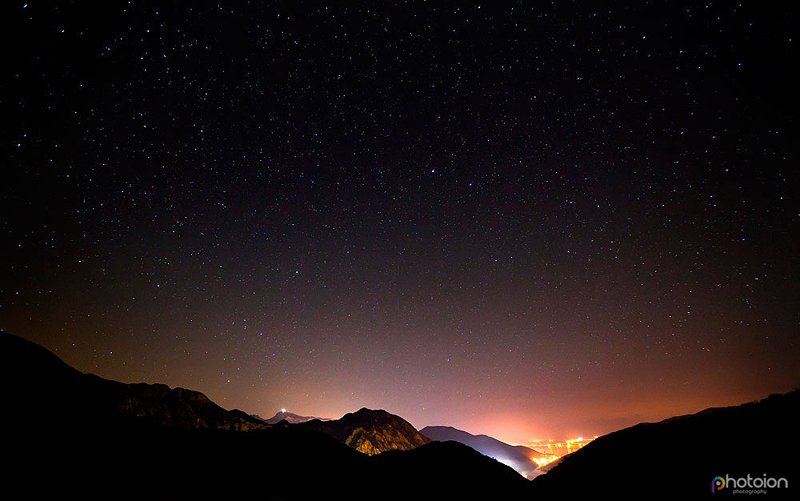
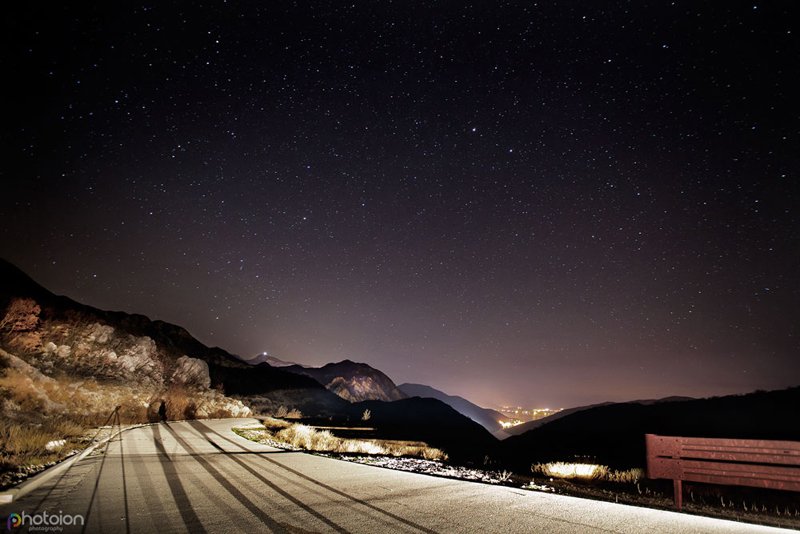
A tripod is needed, but not essential. So long as you can place the camera on a solid surface and position it to look at the sky like on the image below – the camera was placed on the road with a pack of cigarettes positioned under the lens and it actually worked really well!
Location
You want to find the darkest place you possibly can to reduce the impact of light pollution on your image. Ideally you want to get out of the town or city and into the hills.
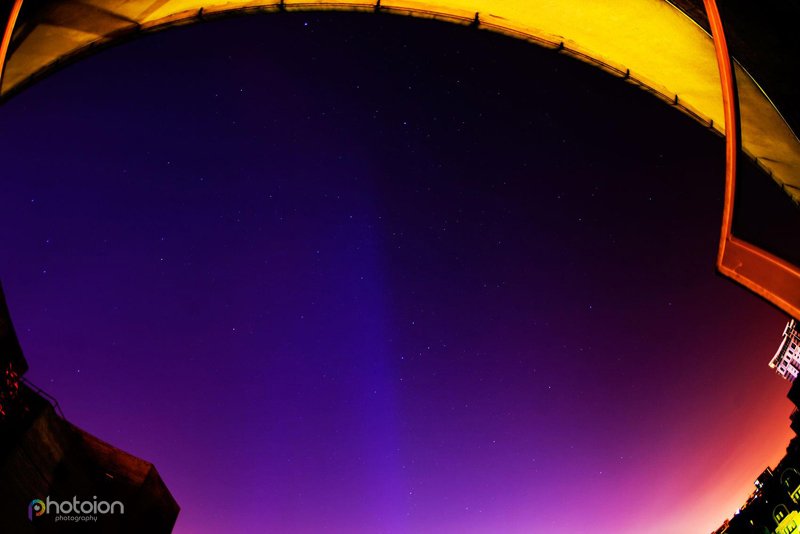
If you wish to take starry pictures in the garden behind your house or from your balcony it can be possible, however, for good results you will need a place far away from city lights. See below starry sky taken by Ion Paciu in central London from a 4th floor building. You can faintly see the stars, however, it is far from the results we are after, right?
Camera settings
First, you will need a lens with a large aperture. Our tutor used a Canon 16-35mm at f/2.8.
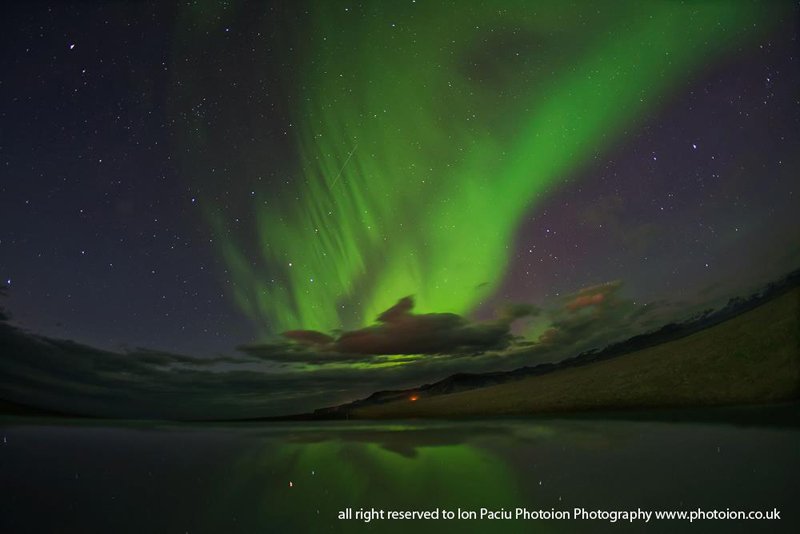
Next, set your camera at a reasonable (medium to high) ISO (this value depends on the camera ISO performance). Some older cameras have maximum ISO 1600, some new cameras have ISO 12000. Anyway, first our tutor tried using ISO 1600 on the below image which proved to be too high as the sky was very bright due to the northern light. So the final value was 800.
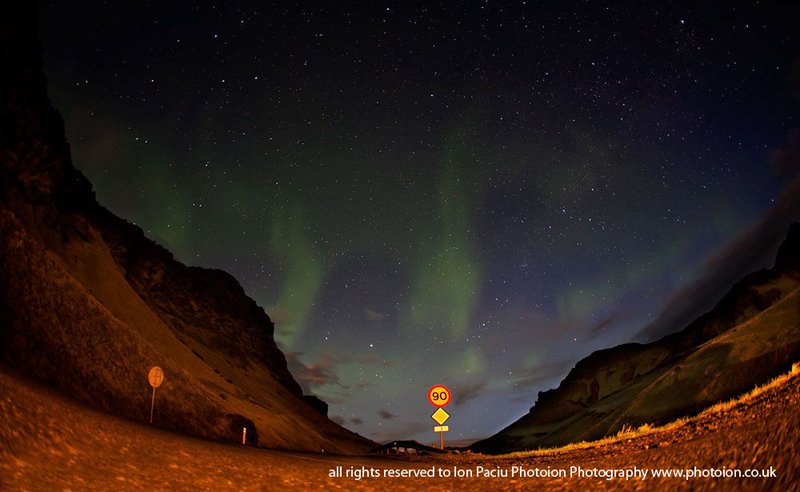
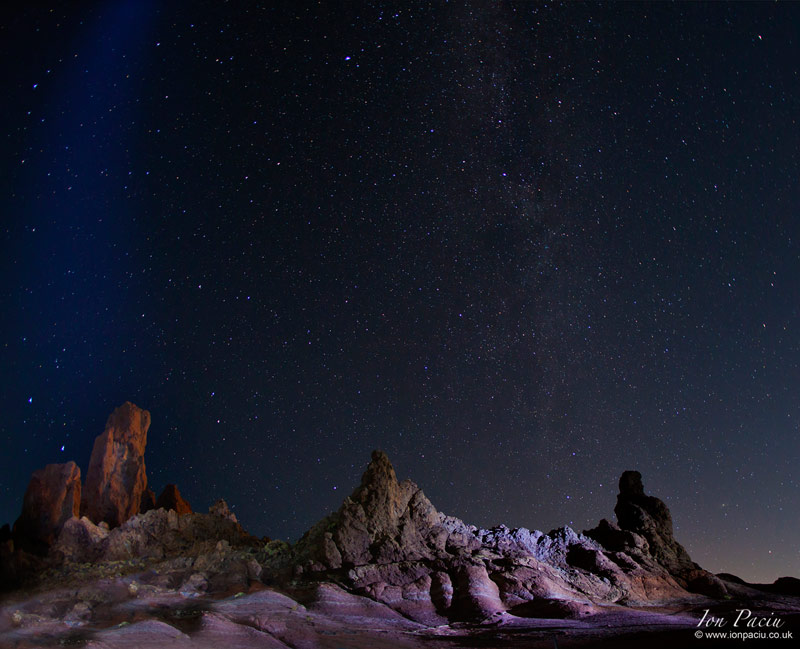
Other images might require a higher ISO value like the one below (ISO 1,250) because the sky was much darker.
Finally, put your lens in manual focusing and turn the focus to infinity; you will need a lens with infinity focus settings (that value / symbol can be found at the end of the focusing scale on the lens).
Shutter speed
Stars are far away from Earth but Earth is rotating so you will need to use a shutter speed “fast” enough in order to avoid star trails. The shutter speed should be no longer than approximately 30 seconds. If the landscape around (or the sky) is quite bright you can actually achieve shutter speeds as fast as 15 – 20 seconds using a large f/2.8 aperture and a medium to high ISO.
We hope you found this tutorial helpful and its inspired you to get outside and point your camera up at the sky.
[…] We were very pleased with the results. See a tutorial how to take this kind of images here […]
[…] workshops will consist of landscape and starry (night) photography, and one day of portrait on location. We will finish by reviewing the images you have taken, and […]
[…] We were very pleased with the results. See a tutorial how to take this kind of images here […]